
Develop your own Automation projects
Here you can find some info and videos where you can learn and improve your automation skills.
If you want to become an Automation expert I recommend to follow the next tips in order to start:
– First learn how the device works and how can be set up
– Then make sure you understand binary code and the plc programming languages. If you don’t, check out this video (What are the Most Popular PLC Programming Languages? (youtube.com))
– Proceed with a free development software so you can learn without paying for it. I recommend Codesys as its visualization capabilities also allow you to test your code.
– Try to get equipment where you can test in real life your system.
Would you like to ask some questions to experts 100% free? please let us know by mail: factoryautomatedsolutions@gmail.com
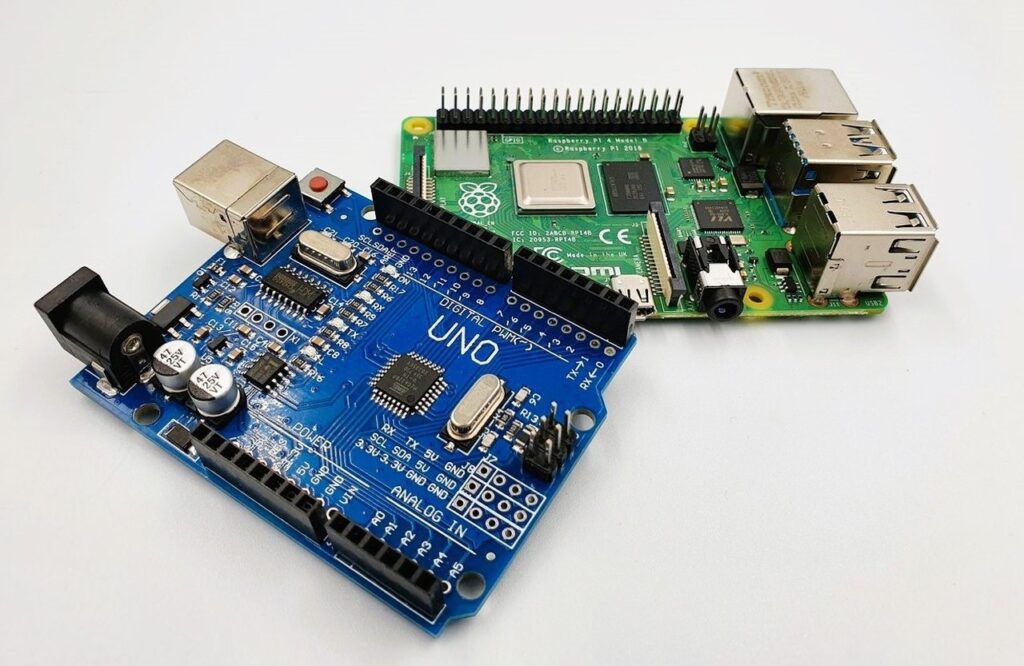
Getting Started with Raspberry PI:
- Get the necessary equipment:
- Raspberry Pi board
- MicroSD card (at least 8GB)
- Power supply (micro USB)
- HDMI cable (if you plan to connect to a monitor)
- USB keyboard and mouse
- Ethernet cable or Wi-Fi dongle (for internet connectivity)
- Download the operating system:
- Go to the official Raspberry Pi website (https://www.raspberrypi.org/downloads/) and download the latest version of the Raspberry Pi OS (formerly known as Raspbian).
- Choose the recommended version for beginners, usually the “Raspberry Pi OS with desktop and recommended software.”
- Prepare the microSD card:
- Insert the microSD card into your computer using an SD card adapter.
- Format the microSD card using the SD Card Formatter tool (https://www.sdcard.org/downloads/formatter/).
- Open the downloaded Raspberry Pi OS image file and use a disk imaging tool like Etcher (https://www.balena.io/etcher/) to write the image onto the microSD card.
- Configure the Raspberry Pi:
- Eject the microSD card from your computer and insert it into the Raspberry Pi.
- Connect the HDMI cable to a monitor or TV, and connect the USB keyboard and mouse to the Raspberry Pi.
- Plug in the power supply to turn on the Raspberry Pi.
- Initial setup:
- Follow the on-screen instructions to complete the initial setup of Raspberry Pi OS.
- Set your preferred language, keyboard layout, and password.
- Connect to your Wi-Fi network (if using Wi-Fi) or configure the Ethernet connection.
- Allow the system to update and reboot if prompted.
- Explore and customize:
- Once the setup is complete, you can start exploring the Raspberry Pi OS desktop environment.
- Customize the settings, install additional software, and configure the Raspberry Pi to suit your needs.
That’s it! You have successfully set up your Raspberry Pi. Enjoy exploring and experimenting with your new device!
Few examples:
- The first one has 13 examples of projects using a Raspberry Pi as the controller.
- Second video have a vision system on board to identify the product.
- The third video is a PLC based temperature controller system.
Set up a ControlLogix PLC (RockwellAutomation):
If you are experienced already in the PLC world but you never worked with Rockwell yet, here are the first steps for a set up.
- Gather the necessary equipment:
- ControlLogix PLC chassis
- ControlLogix CPU module
- Power supply module
- Input and output modules
- Ethernet cable
- Programming software (e.g., Studio 5000)
- Install the hardware:
- Mount the ControlLogix chassis in a suitable location.
- Insert the CPU module into the chassis and secure it.
- Install the power supply module and connect it to a power source.
- Insert the input and output modules into the chassis, ensuring they are properly aligned and secured.
- Connect the hardware:
- Connect the Ethernet cable to the Ethernet port on the CPU module.
- Connect the other end of the Ethernet cable to a network switch or directly to your computer (if using a direct connection).
- Configure the IP address:
- Open the programming software (e.g., Studio 5000).
- Create a new project and select the appropriate ControlLogix CPU model.
- Set the IP address for the CPU module by accessing its properties in the software.
- Assign a unique IP address that matches your network configuration.
- Establish communication:
- Ensure that your computer is connected to the same network as the ControlLogix PLC.
- In the programming software, establish a connection to the PLC using the configured IP address.
- Verify the connection by checking the status indicators in the software.
- Program the PLC:
- Create a new program or open an existing one in the programming software.
- Write the ladder logic, structured text, or other programming language to define the desired functionality.
- Download the program to the ControlLogix PLC using the programming software.
- Test and debug:
- Power on the ControlLogix PLC and observe the behavior of the programmed logic.
- Monitor the input and output modules to ensure they are functioning correctly.
- Use the programming software’s debugging tools to identify and fix any issues.
- Deploy and monitor:
- Once the program is tested and verified, deploy it to the ControlLogix PLC for production use.
- Monitor the PLC’s performance and make any necessary adjustments or updates as required.
Remember, setting up a ControlLogix PLC requires a good understanding of industrial automation and programming concepts. It’s recommended to refer to the specific documentation and user manuals provided by the manufacturer for detailed instructions and guidelines.